Proteins And Structure
The Science of Perfect Fish Cutlets: From Protein Structure to Crispy Crunch
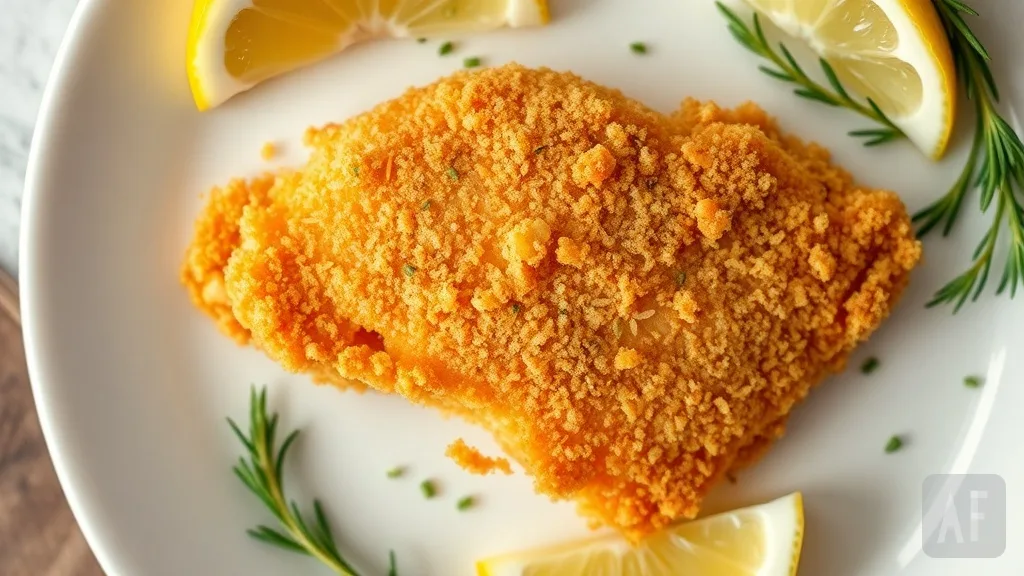
Discover how the proteins in fish transform under heat to create tender, flaky cutlets, and learn the precise techniques for achieving a golden, crispy crust every time. This guide blends Japanese culinary precision with food science to help home cooks master this versatile dish.
Introduction: The Delicate Dance of Fish and Heat
Konnichiwa! I'm Aiko Sato, and like a perfectly shaped onigiri, I believe good food should be both adorable and precise. Today we're exploring one of my favorite transformations in the kitchen: how humble fish fillets become glorious, crispy cutlets. While they might seem simple, fish cutlets are actually tiny science experiments where proteins, starches, and heat work together in beautiful harmony. Whether you call them fish cutlets, fish cakes, or simply breaded fish, understanding the science behind them will help you create consistently perfect results—crispy on the outside, tender and flaky inside, every single time.
In Japanese cooking, we have a deep respect for ingredients and their natural properties. Fish cutlets, or 'furai' as we sometimes call them, showcase this beautifully. The process isn't just about coating and frying—it's about understanding how fish proteins behave under heat, how breadcrumbs create texture, and how temperature control affects everything from food safety to mouthfeel. Let's dive into the delicious science together!
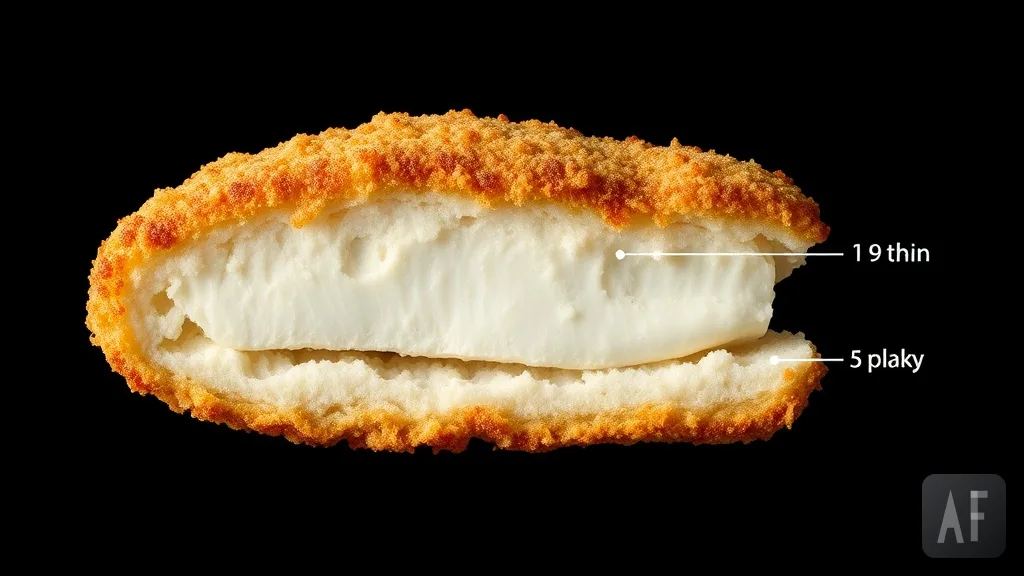
The Protein Puzzle: Why Fish Becomes Flaky
At the heart of every great fish cutlet is the fish itself, and its behavior during cooking is all about protein structure. Fish muscle contains two main types of proteins: myosin and actin. These proteins are arranged in long, parallel bundles that give raw fish its translucent, firm texture. When you apply heat, something magical happens called protein denaturation.
As the fish heats to around 40-50°C (104-122°F), the myosin proteins begin to unwind and coagulate. This is when the fish starts to turn from translucent to opaque. Continue heating to 60-70°C (140-158°F), and the actin proteins denature too. The coagulation of these proteins squeezes out moisture and causes the muscle fibers to contract and separate into distinct flakes. This is why properly cooked fish has that characteristic flaky texture rather than being rubbery or mushy.
Different fish have slightly different protein compositions, which is why some work better for cutlets than others. White fish like cod, haddock, or tilapia have a relatively simple muscle structure with fewer connective tissues, making them ideal for cutlets. Oilier fish like salmon or mackerel have more fat between their muscle fibers, which can make the coating less likely to adhere properly and can cause more splattering during frying.
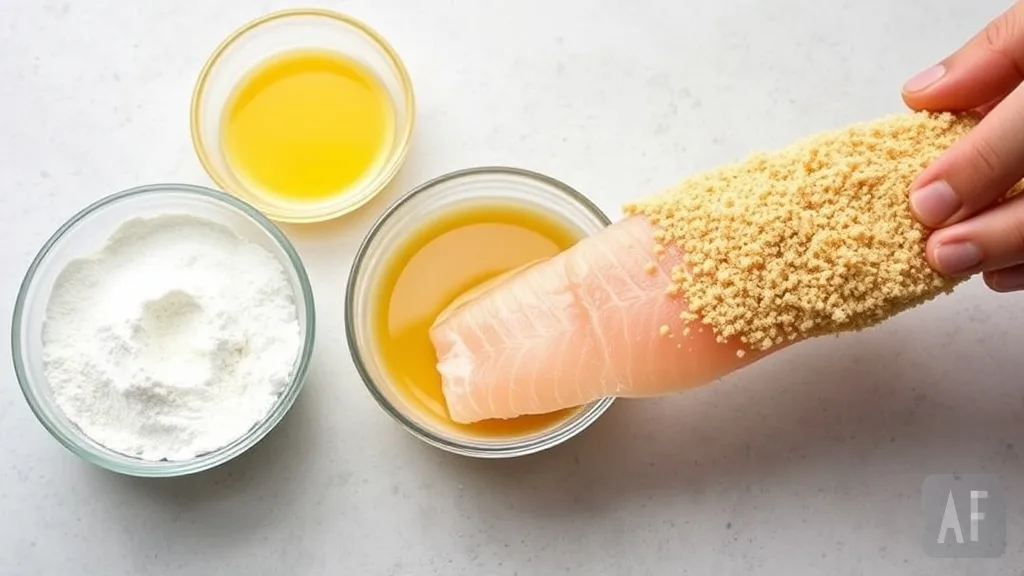
The Breading Trilogy: Flour, Egg, Crumbs
The classic three-step breading process—flour, egg, breadcrumbs—isn't just tradition; it's food science in action. Each layer serves a specific purpose in creating that perfect crispy exterior while protecting the delicate fish inside.
- **Flour Layer**: The initial dusting of flour creates a dry surface that helps the egg wash adhere properly. The starch in the flour also absorbs surface moisture from the fish, preventing the coating from sliding off during cooking.
- **Egg Wash**: The beaten egg acts as the 'glue' that binds everything together. As it cooks, the egg proteins coagulate, forming a strong adhesive layer between the fish and the breadcrumbs. The fat in the yolk also contributes to browning and flavor development.
- **Breadcrumb Layer**: This is where the crunch happens! Breadcrumbs create a textured surface that crisps up beautifully when fried. The starches in the breadcrumbs gelatinize and then dehydrate during cooking, creating that satisfying crunch. Panko breadcrumbs, with their larger, flakier structure, create especially light and crispy results.
A common mistake is applying the breading too thickly or pressing it too firmly onto the fish. This can create a dense, doughy coating rather than a light, crispy one. The breadcrumbs should just lightly adhere—think of them as creating a protective lattice rather than a solid wall.
The Maillard Reaction: Creating Golden Perfection
That beautiful golden-brown color on your fish cutlet isn't just for show—it's the Maillard reaction at work! This complex chemical reaction between amino acids (from proteins) and reducing sugars occurs at temperatures between 140-165°C (284-329°F). As your cutlet fries, the proteins in the egg wash and the natural sugars in the breadcrumbs react to create hundreds of new flavor compounds and that appealing brown color.
The Maillard reaction is temperature-dependent, which is why oil temperature control is so crucial. If the oil is too cool (below 160°C/320°F), the cutlet will absorb too much oil before browning occurs, resulting in a greasy texture. If it's too hot (above 190°C/374°F), the outside can burn before the inside is fully cooked. The sweet spot is typically 170-180°C (338-356°F), where you get optimal browning without overcooking the fish.
Temperature Control: The Key to Safety and Texture
Proper temperature management serves two critical purposes in fish cutlet preparation: food safety and texture perfection. From a safety perspective, fish needs to reach an internal temperature of at least 63°C (145°F) to eliminate potential pathogens. But from a texture perspective, we want to stop cooking shortly after this point to prevent the proteins from tightening too much and squeezing out all the moisture.
| Temperature Range | What's Happening | Practical Takeaway |
|---|---|---|
| Oil: 170-180°C (338-356°F) | Ideal for Maillard reaction and crispiness without burning | Use a thermometer or test with a breadcrumb (should sizzle immediately) |
| Fish interior: 63-68°C (145-154°F) | Proteins fully denatured, fish flaky and safe to eat | Cook until opaque and flakes easily with a fork |
| Resting after cooking | Proteins relax slightly, juices redistribute | Let cutlets rest 2-3 minutes on a rack for optimal texture |
A common technique in Japanese cooking is 'double frying' or 'resting and refrying'—cooking the cutlets until nearly done, letting them rest, then giving them a quick second fry just before serving. This allows the interior to finish cooking through residual heat while ensuring the exterior stays extra crispy. The science behind this is that the initial fry sets the coating and cooks the fish most of the way, while the brief second fry re-crisps the exterior without further cooking the interior.
Common Mistakes and How Science Fixes Them
Even experienced cooks can encounter issues with fish cutlets. Understanding the science behind these problems makes them easy to prevent or fix.
- **Soggy coating**: Usually caused by moisture from the fish escaping during cooking. Solution: Pat fish completely dry before breading, and don't overcrowd the pan (which lowers oil temperature and creates steam).
- **Coating falling off**: Often due to insufficient flour layer or pressing breadcrumbs too hard. Solution: Ensure each layer is applied in sequence without skipping steps, and let breaded cutlets rest 5-10 minutes before frying to set the coating.
- **Uneven cooking**: Thicker parts undercooked while thinner parts overcook. Solution: Choose evenly thick fillets or pound them to uniform thickness, and consider scoring thicker parts slightly to promote even heat penetration.
- **Greasy texture**: Oil temperature too low, causing excessive absorption. Solution: Maintain consistent oil temperature and don't add too many cutlets at once (which causes temperature drop).
- **Fish drying out**: Overcooking causes proteins to tighten excessively. Solution: Remove cutlets from oil when they reach an internal temperature of 63-68°C (145-154°F)—they'll continue cooking slightly from residual heat.
Remember that different oils have different smoke points, which affects their suitability for frying. Neutral oils with high smoke points like canola, peanut, or vegetable oil are ideal. Olive oil (especially extra virgin) has a lower smoke point and stronger flavor that might not suit delicate fish cutlets.
Beyond the Basics: Creative Variations and Science
Once you've mastered the basic science, you can experiment with creative variations while understanding why they work (or don't!).
- **Baking instead of frying**: Baking uses dry heat rather than oil immersion. The coating still crisps through starch gelatinization and dehydration, but without the Maillard reaction occurring as intensely. Result: Lighter texture but less browning and flavor complexity.
- **Air frying**: Uses rapid air circulation to create crispiness with minimal oil. The science is similar to baking but more efficient at removing surface moisture, creating better crispiness than conventional ovens.
- **Different coatings**: Cornflake crumbs create extra crunch due to their rigid structure. Crushed nuts add fat and protein that brown beautifully. Potato starch instead of flour creates an especially crisp, light coating popular in Japanese tempura.
- **Marinating first**: Acidic marinades (lemon, vinegar) can slightly denature surface proteins, creating a 'ceviche-like' effect that changes texture. Be brief (15-30 minutes max) or the acid will break down the fish too much.
The most important principle in all variations is understanding the balance between heat application and protein behavior. Whether you're frying, baking, or air frying, the goal remains the same: sufficient heat to properly denature proteins for safety and texture, while creating a protective, crispy coating through controlled dehydration and browning reactions.
FAQs: Your Fish Cutlet Science Questions Answered
Why does my fish cutlet coating sometimes get soggy after I take it out of the oil?
This is usually due to steam condensation. When hot cutlets are placed on a flat surface or covered, steam from the hot fish condenses on the crispy coating, making it soggy. Always place cooked cutlets on a wire rack rather than a plate, and don't cover them immediately—this allows steam to escape and keeps the coating crisp.
Can I prepare fish cutlets ahead of time and refrigerate them before cooking?
Yes, but with caution. You can bread the cutlets and refrigerate them for 1-2 hours before cooking, which can actually help the coating adhere better. However, don't refrigerate for longer as the moisture from the fish can migrate into the coating. Never refrigerate already-cooked cutlets for more than a day as the texture deteriorates significantly.
Why do some recipes call for chilling the breaded cutlets before frying?
Chilling (15-30 minutes in refrigerator) helps set the breading layers. The cold firms up the egg wash slightly, creating better adhesion. It also ensures the fish is cold when it hits the hot oil, which helps create a more dramatic temperature gradient that promotes crispiness while protecting the interior from overcooking.
What's the difference between panko and regular breadcrumbs for fish cutlets?
Panko breadcrumbs are made from bread without crusts, creating larger, flakier pieces with more surface area and air pockets. Regular breadcrumbs are finer and denser. Scientifically, panko's structure allows oil to penetrate more evenly and creates more surface area for crisping, resulting in a lighter, crispier texture. Regular breadcrumbs create a denser, more uniform coating.
How can I tell when my fish cutlets are done without a thermometer?
The most reliable visual cue is opacity and flakiness. Properly cooked fish will be completely opaque (not translucent) throughout and will flake easily when tested with a fork. The coating should be golden brown, and the cutlet should feel firm but not hard when gently pressed. For thickness reference: a 2cm (3/4 inch) thick cutlet typically takes 3-4 minutes per side at proper frying temperature.
Why do some fish work better for cutlets than others?
Fish with firm, low-fat white flesh (like cod, haddock, pollock) work best because they have a consistent texture that holds together during cooking and doesn't release excessive moisture or oil. Oilier fish (like salmon, mackerel) can work but may cause more splattering and coating adhesion issues. Very delicate fish (like sole) may fall apart during handling and cooking.
Conclusion: The Art and Science of Perfect Fish Cutlets
Creating perfect fish cutlets is where culinary art meets food science in the most delicious way. From the precise denaturation of fish proteins at specific temperatures to the Maillard reaction creating that beautiful golden crust, every step has scientific reasoning behind it. By understanding these principles—how proteins behave under heat, how breading creates texture, how temperature affects safety and quality—you can move beyond following recipes to truly mastering the technique.
Remember the key takeaways: start with dry, evenly thick fish; respect the three-step breading process; maintain proper oil temperature; cook to the right internal temperature; and allow for proper resting and drainage. With this knowledge, you can adapt and experiment while understanding why certain techniques work. Whether you're making classic breaded cutlets, trying Japanese-style furai, or experimenting with alternative coatings and cooking methods, the science remains your reliable guide to delicious results.
Just like shaping perfect onigiri requires understanding how rice starch behaves, making perfect fish cutlets requires understanding how proteins and heat interact. With practice and this scientific foundation, you'll be creating consistently wonderful fish cutlets that are crispy, tender, and scientifically splendid! さようなら (Sayōnara) for now, and happy cooking!
Rate this article
4.8 out of 5 from 19 ratings

Written by
Aiko Sato
Specialises in Japanese cuisineAiko Sato makes onigiri with pickled plum and a smile. She shapes them like animals.
Describe yourself in three words: Cute, precise, animal-shaped rice.