Baking And Dough
Common Baking and Dough Mistakes—and How to Fix Them with Science
Baking is chemistry you can eat, but small missteps can ruin texture, rise, or structure. This article covers the most frequent dough and baking errors and explains the science behind each fix, so you can bake with confidence.
Why Baking Science Matters
Every time you bake, you're running a series of chemical reactions. Flour provides structure through gluten, yeast and baking powder create gas for rise, fat tenderizes, and sugar caramelizes. But when one step goes wrong, the whole system falters. The good news? Once you understand the why, the fix becomes obvious. Let's walk through the most common baking and dough disasters and how to avoid them.
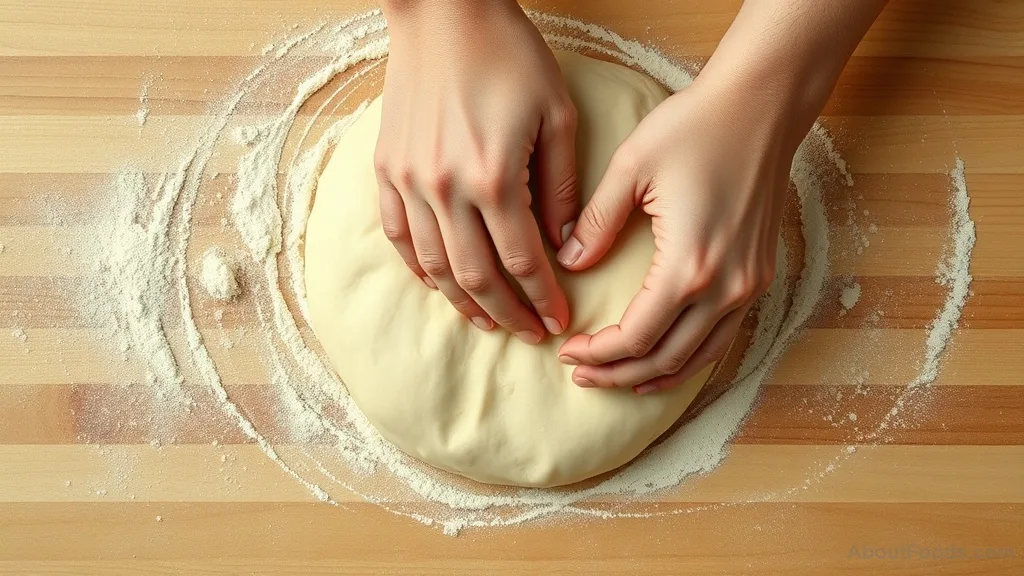
1. The Dense, Heavy Loaf – Under-Kneading or Over-Kneading
A brick-like bread is heartbreaking. Usually, it's a gluten issue. Gluten is a network of proteins (glutenin and gliadin) that traps gas and gives bread its airy structure. Under-kneading means the gluten hasn't developed enough, so the dough can't hold gas. Over-kneading can break the gluten strands, leading to a dense crumb.
How to avoid it: For most yeast doughs, knead by hand for 8–10 minutes until the dough is smooth and elastic. The windowpane test works: stretch a small piece of dough thin enough to see light through without tearing. If it tears easily, keep kneading. If it's smooth and stretchy, you're there. For machine mixing, watch the dough—stop as soon as it pulls away from the bowl sides.
2. Flat Cookies and Spread – Too Much Sugar or Warm Butter
Cookies that spread into thin, flat disks are often victims of too much sugar or butter that's too soft. Sugar absorbs moisture and delays gluten formation, while butter melts and spreads the dough before the structure sets. The result? Puddles instead of puffs.
How to avoid it: Chill your cookie dough for at least 30 minutes before baking. This solidifies the butter, so it melts slowly and the cookie has time to set. Also, measure your sugar carefully—creaming butter and sugar adds air, but too much sugar overwhelms the structure. Stick to a reliable recipe and use room-temperature butter (still cool to the touch, not melted).
3. Soggy or Gummy Interior – Cutting Bread Too Soon
You pull a beautiful loaf from the oven, but the inside is gummy. Often, the culprit is impatience. When bread bakes, starch granules absorb water and gelatinize. As it cools, the starch sets and the excess moisture redistributes. Cutting too early lets steam escape unevenly, leaving a gum zone.
How to avoid it: Let bread cool completely on a wire rack, usually at least 1–2 hours for a standard loaf. Yes, it's torturous, but the texture rewards you. If you need speed, place the loaf on its side to cool—more surface area helps moisture escape quicker.
4. Sinking Cakes – Over-Mixing or Wrong Oven Temperature
A cake that rises beautifully then collapses in the center is heartbreaking. This often happens because too much air is incorporated during mixing (over-mixing), the gluten gets overworked, or the oven temperature is too low. The cake rises too fast, the structure can't support itself, and it falls.
How to avoid it: Mix dry and wet ingredients just until combined—no more than 30 seconds of gentle folding after the flour is added. Also, preheat your oven fully and use an oven thermometer; many home ovens run cool. When the temperature is accurate, the cake sets properly before gravity takes hold.
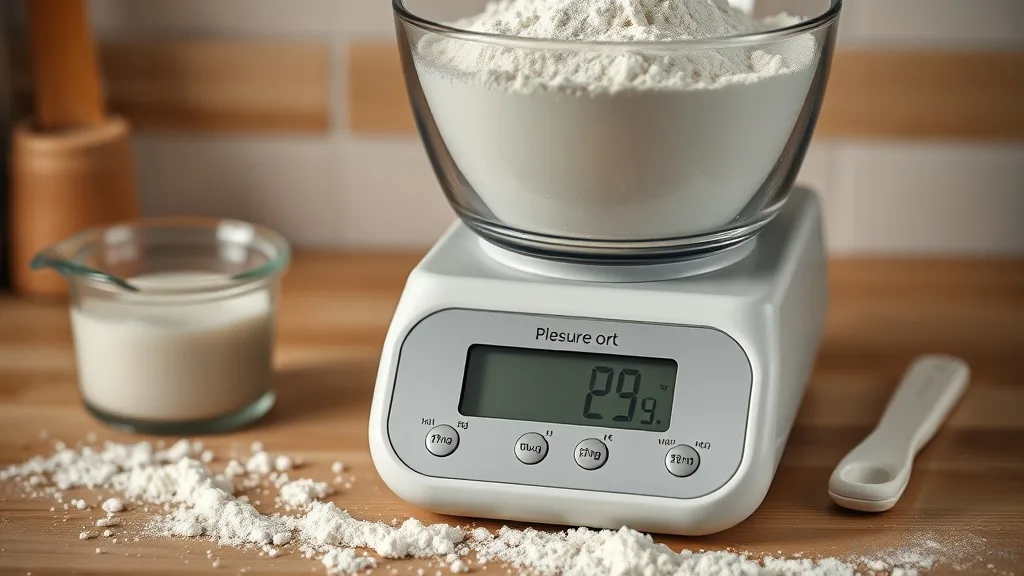
5. Hard, Dry Baked Goods – Over-Baking or Too Much Flour
Dry cakes, scones, or biscuits usually mean one of two things: you baked them too long, or you used too much flour. Flour absorbs moisture; extra flour sops up the liquid, leaving the final product parched. Over-baking pushes too much moisture out.
How to avoid it: Weigh your flour with a kitchen scale (1 cup all-purpose flour = 120–125 grams). Spooning and leveling is less reliable. And trust your senses—baked goods often continue to cook from residual heat after removal, so take them out when they're just set and golden. For cakes, a toothpick inserted into the center should come out with a few moist crumbs, not wet batter.
6. Yeast Not Rising – Water Temperature and Proofing Environment
You wait an hour and your dough hasn't budged. Yeast is a living organism, and it's picky about temperature. Too hot (above 50°C / 120°F) and you kill it. Too cold (below 20°C / 68°F) and it slows to a crawl. Also, salt can inhibit yeast if they're mixed directly together.
How to avoid it: Use liquid around 37–40°C / 98–104°F—feels like warm bathwater. If you're using active dry yeast, proof it in warm water with a pinch of sugar; if it doesn't foam after 10 minutes, start over. In cooler kitchens, create a warm proofing box by placing the bowl in the oven with only the light on (or in a microwave with a cup of hot water). And never mix salt directly with yeast; blend it with the flour first.
7. Tough Pie Dough – Over-Working Gluten
Flaky pie dough should be tender, not chewy. The problem is too much water and over-mixing, which encourages gluten formation. Gluten gives elasticity—great for bread, bad for pie crust.
How to avoid it: Keep your butter cold (cubes, not room temperature). Cut it into the flour until you have pea-sized clumps—some larger flakes create steam pockets for flakiness. Add ice water one tablespoon at a time, and stop when the dough holds together when squeezed. Then chill the dough for at least 30 minutes before rolling. This relaxes any gluten that formed and keeps the fat solid until it hits the oven.
8. Uneven Browning – Oven Hot Spots and Pan Position
Nothing ruins a batch of cookies or a loaf like burnt edges and a pale middle. Most ovens have hot spots, and if you place food too close to the heating element or on a dark pan, heat transfers faster and burns.
How to avoid it: Rotate your pans halfway through baking. Use an oven thermometer to map your oven's actual temperature. For even browning, use light-colored, heavy-gauge pans; dark pans absorb more heat and can over-brown. Also, avoid overcrowding—leave at least 5 cm (2 inches) between pans for air circulation.
9. Crumbly Bread – Not Enough Hydration or Over-Flouring
When your bread crumbles apart, it's often too dry. A lean bread dough needs about 60–70% hydration (water weight relative to flour weight). Without enough water, the gluten can't fully develop, and the crumb lacks cohesion.
How to avoid it: Use a recipe by weight. If your dough feels stiff, add a tablespoon of water at a time until it becomes slightly tacky but not sticky. Keep your hands and work surface lightly floured instead of heavily dredging. And avoid adding too much extra flour during kneading—trust the stickiness; it will absorb as you knead.
10. Failure to Proof – Old or Dead Leaveners
Baking powder, baking soda, and yeast all have expiration dates. Expired chemical leaveners lose their strength; dead yeast gives no rise. Your dough might simply not have enough puff to lift.
How to avoid it: Test baking powder by dropping a teaspoon into hot water—it should fizz vigorously. If not, it's time for a new can. For yeast, always proof it first or check the date. For sourdough, maintain a healthy starter by feeding regularly and looking for bubbly, doubled volume after 4–6 hours.
Quick Reference: Common Baking Problems and Solutions
Frequently Asked Questions
Rate this article
No ratings yet. Be the first to rate it.

Written by
Anaya Iyer
Specialises in Indian cuisineAnaya Iyer (not Patel or Sharma) makes dosas so crisp they shatter like glass. She is a fermentation nerd.
Describe yourself in three words: Crispy, nerdy, sourdoh.