Fermentation
Fermentation Explained: What Home Cooks Need to Know
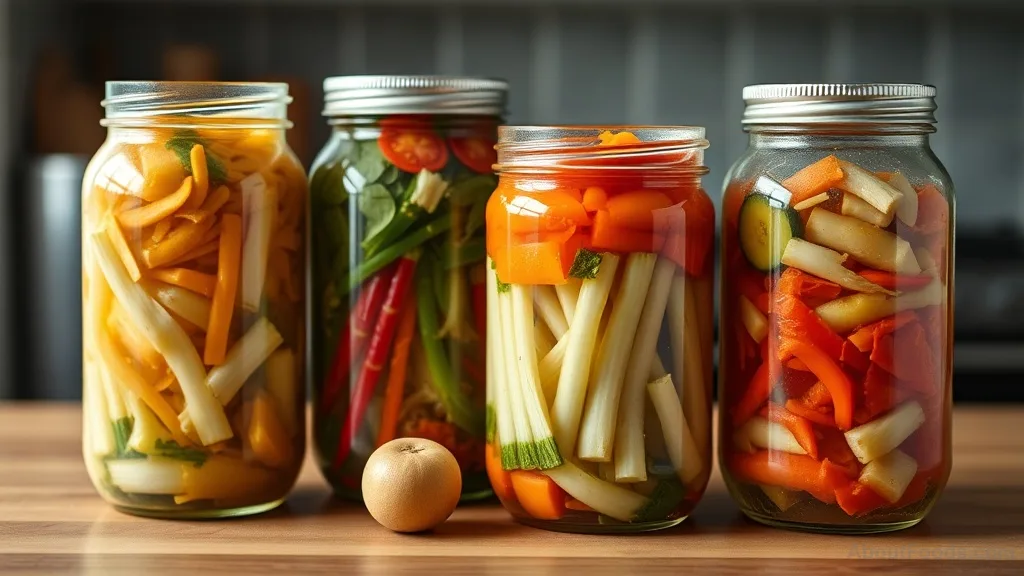
Fermentation transforms simple ingredients into something extraordinary. Discover the science behind the bubbles and how to harness this ancient technique at home.

What Is Fermentation, Really?
Fermentation is not magic—it's microbiology. At its core, it’s a natural process where microorganisms like bacteria, yeast, or molds break down sugars and starches into acids, gases, or alcohol. This biochemical transformation not only preserves food but also creates complex flavors and textures that cannot be achieved any other way. Think of the tang of sourdough, the fizz of kombucha, the crunch of pickles. For home cooks, understanding a few key principles separates success from failure.
The Two Main Types: Lactic Acid vs. Alcoholic
Most home ferments fall into two categories: lactic acid fermentation (used for vegetables, yogurt, and cheese) and alcoholic fermentation (used for bread, beer, and wine). In lactic acid fermentation, Lactobacillus bacteria convert sugars into lactic acid, creating an acidic environment that preserves the food and gives it a sour taste. In alcoholic fermentation, yeast such as Saccharomyces cerevisiae convert sugars into alcohol and carbon dioxide—the bubbles in kombucha and the rise in bread. But many ferments are hybrid: sourdough uses both bacteria and yeast, while kombucha relies on a symbiotic culture of bacteria and yeast (SCOBY).
Key Conditions for Successful Fermentation
- Anaerobic environment: Keep food submerged under brine or in an airtight container to discourage mold. Exposure to air allows unwanted microorganisms to take over.
- Salt concentration: Salt inhibits spoilage bacteria and gives lactic acid bacteria a competitive edge. Too little salt risks failure
- too much stops fermentation.
- Temperature: Most ferments do best at 60–70°F (15–21°C). Higher temperatures speed fermentation but risk off-flavors. A basement or cool cupboard works well.
- Time: Fermentation doesn't happen overnight. Taste daily after a few days—sauerkraut can take 1–4 weeks depending on temperature and preference.
Common Mistakes and How to Avoid Them
Even experienced cooks can have a ferment go wrong. Here are the pitfalls I see most: First, using chlorinated tap water—chlorine can inhibit fermentation. Use filtered or spring water, or let tap water sit out overnight to dechlorinate. Second, skimping on salt. A brine that's too weak invites mold and softening. Stick to a recipe's salt percentage (2–3% by weight of water and vegetables is a reliable range). Third, not burping jars. In alcoholic ferments, carbon dioxide builds up; a sealed jar might explode if gas is not released daily. Lastly, ignoring signs of spoilage: If you see fuzzy mold (green, black, or blue), not the harmless white kahm yeast, discard and start over.
Is It Safe? A Word on Food Safety
Fermentation is an ancient preservation technique precisely because it makes food safer in many ways. The acidic environment suppresses harmful bacteria like Clostridium botulinum. But to stay safe: use clean equipment, avoid fermentation of foods high in protein (like meat) without proper guidance, and always trust your senses. If a ferment smells like vomit or rot (instead of pleasantly tangy or yeasty), do not eat it. If the texture is slimy, don't risk it. Properly fermented foods have pH below 4.6, which you can test with pH strips, but a good rule is that if it looks and smells right, and is kept submerged, it’s likely safe.
Quick-Reference Fermentation Cheat Sheet
Rate this article
No ratings yet. Be the first to rate it.

Written by
Lucia Serrano
Specialises in Spanish cuisineLucia makes paella on a wood fire and refuses to add chorizo. She has ended friendships over this.
Describe yourself in three words: Traditional, proud, argumentative.